Ready, Set, Hang! How to Tie A Picture Frame Cord for Perfect Results
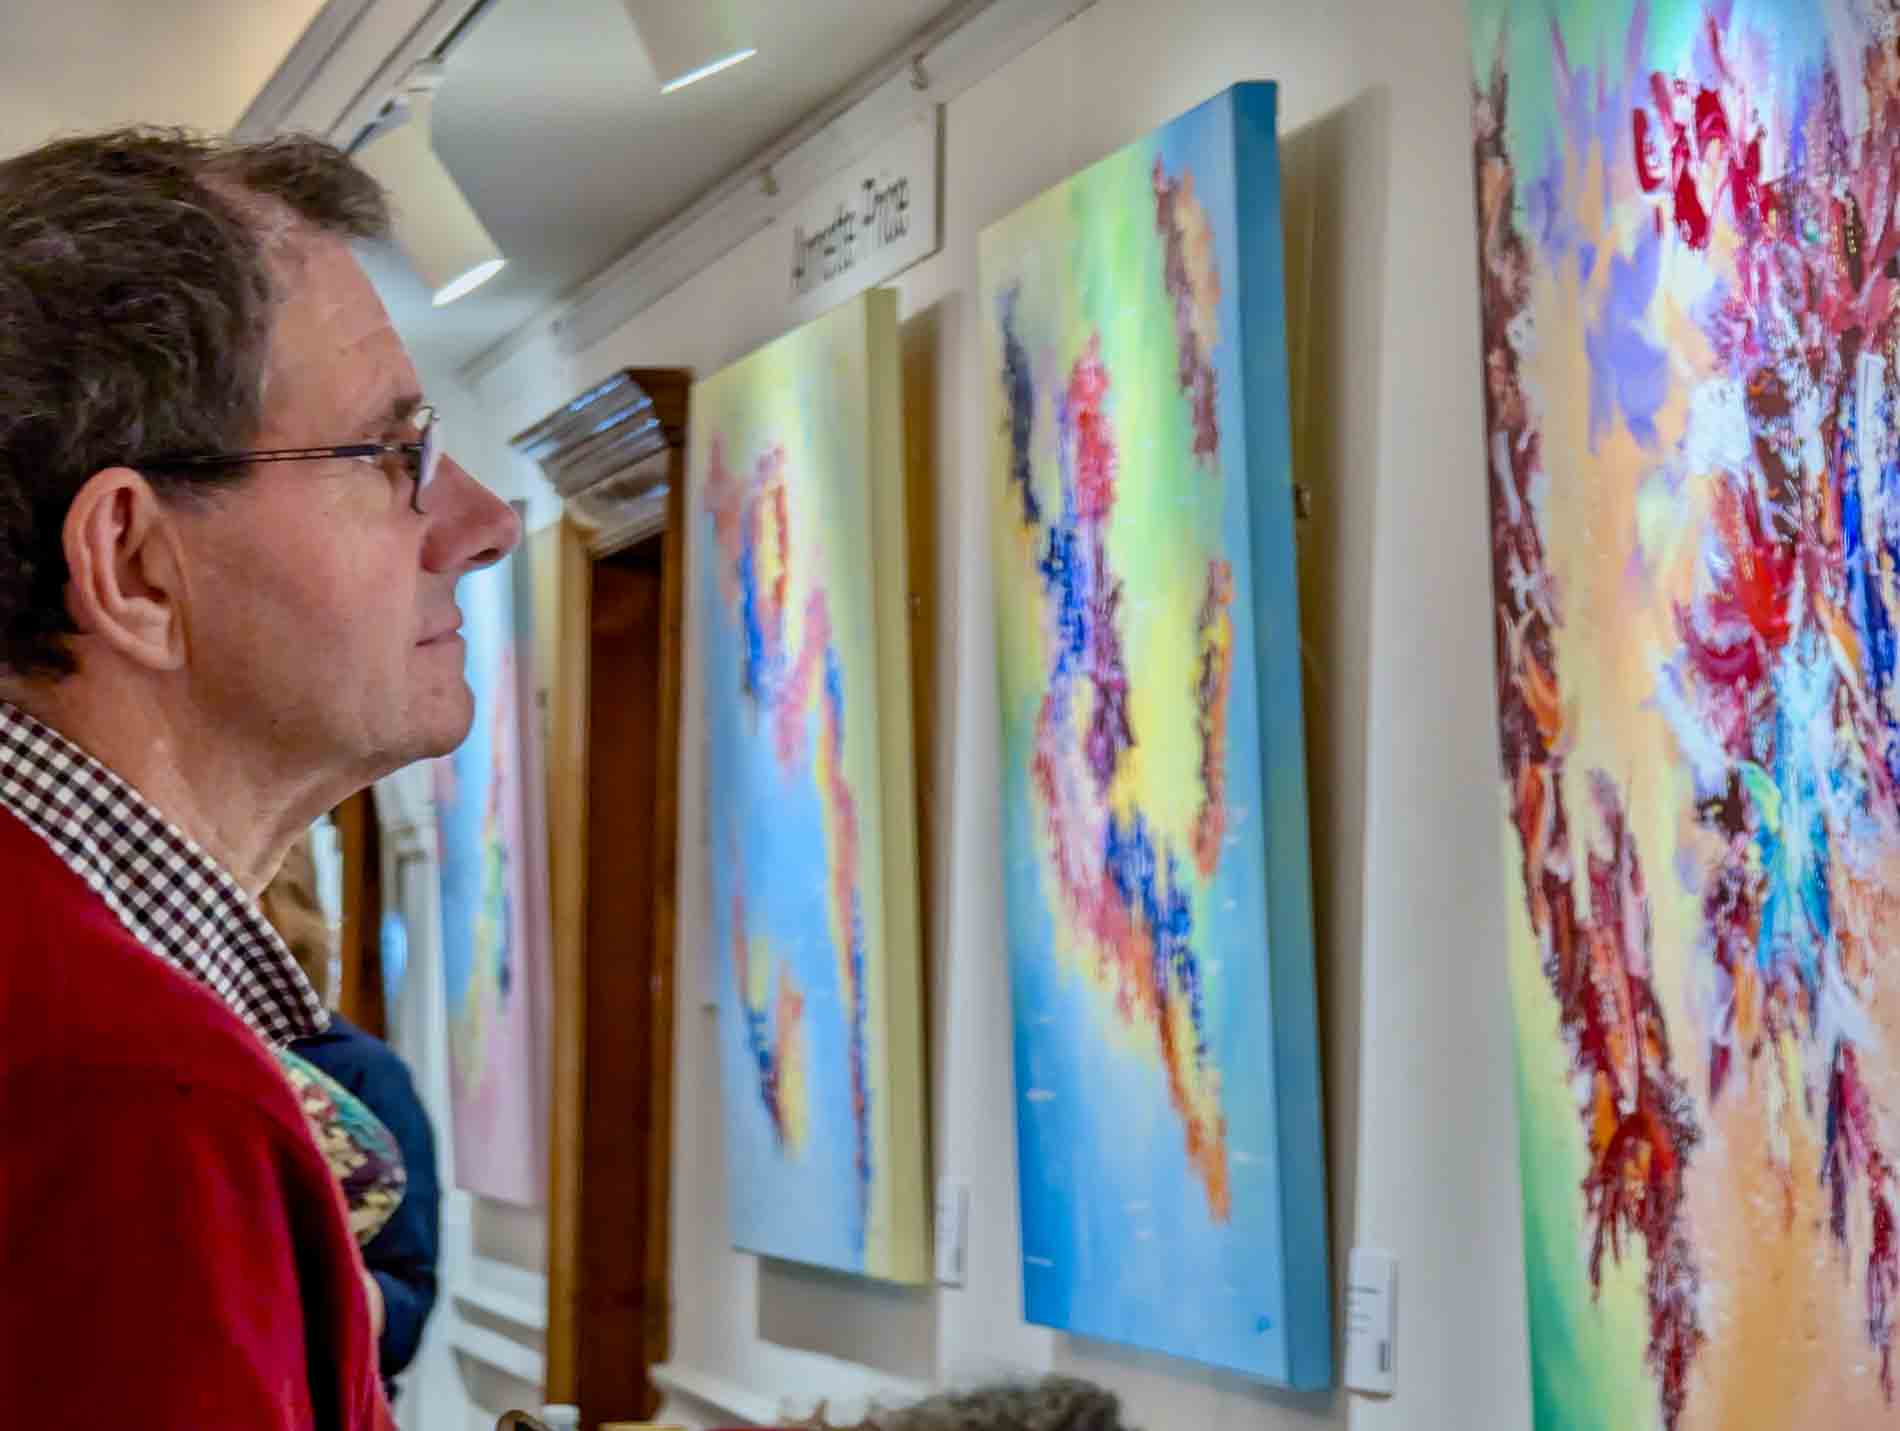
Have you just bought a new piece of art and need to hang it securely? If you’re unsure how to tie a picture frame cord that’s both strong and neat, this guide has you covered.
In this article, I’ll walk you through everything you need to know, from selecting the best materials, gathering the necessary tools, and teaching you a simple but effective method for stringing your artwork.
As a professional artist, I’ve strung plenty of paintings and frames, so I’ll be sharing the method I personally use. Now, there’s more than one way to do this, but in my experience, this technique is reliable, and once you’ve got the hang of it, super easy.
Mastering The Art Of Hanging Paintings:
Picture Cord
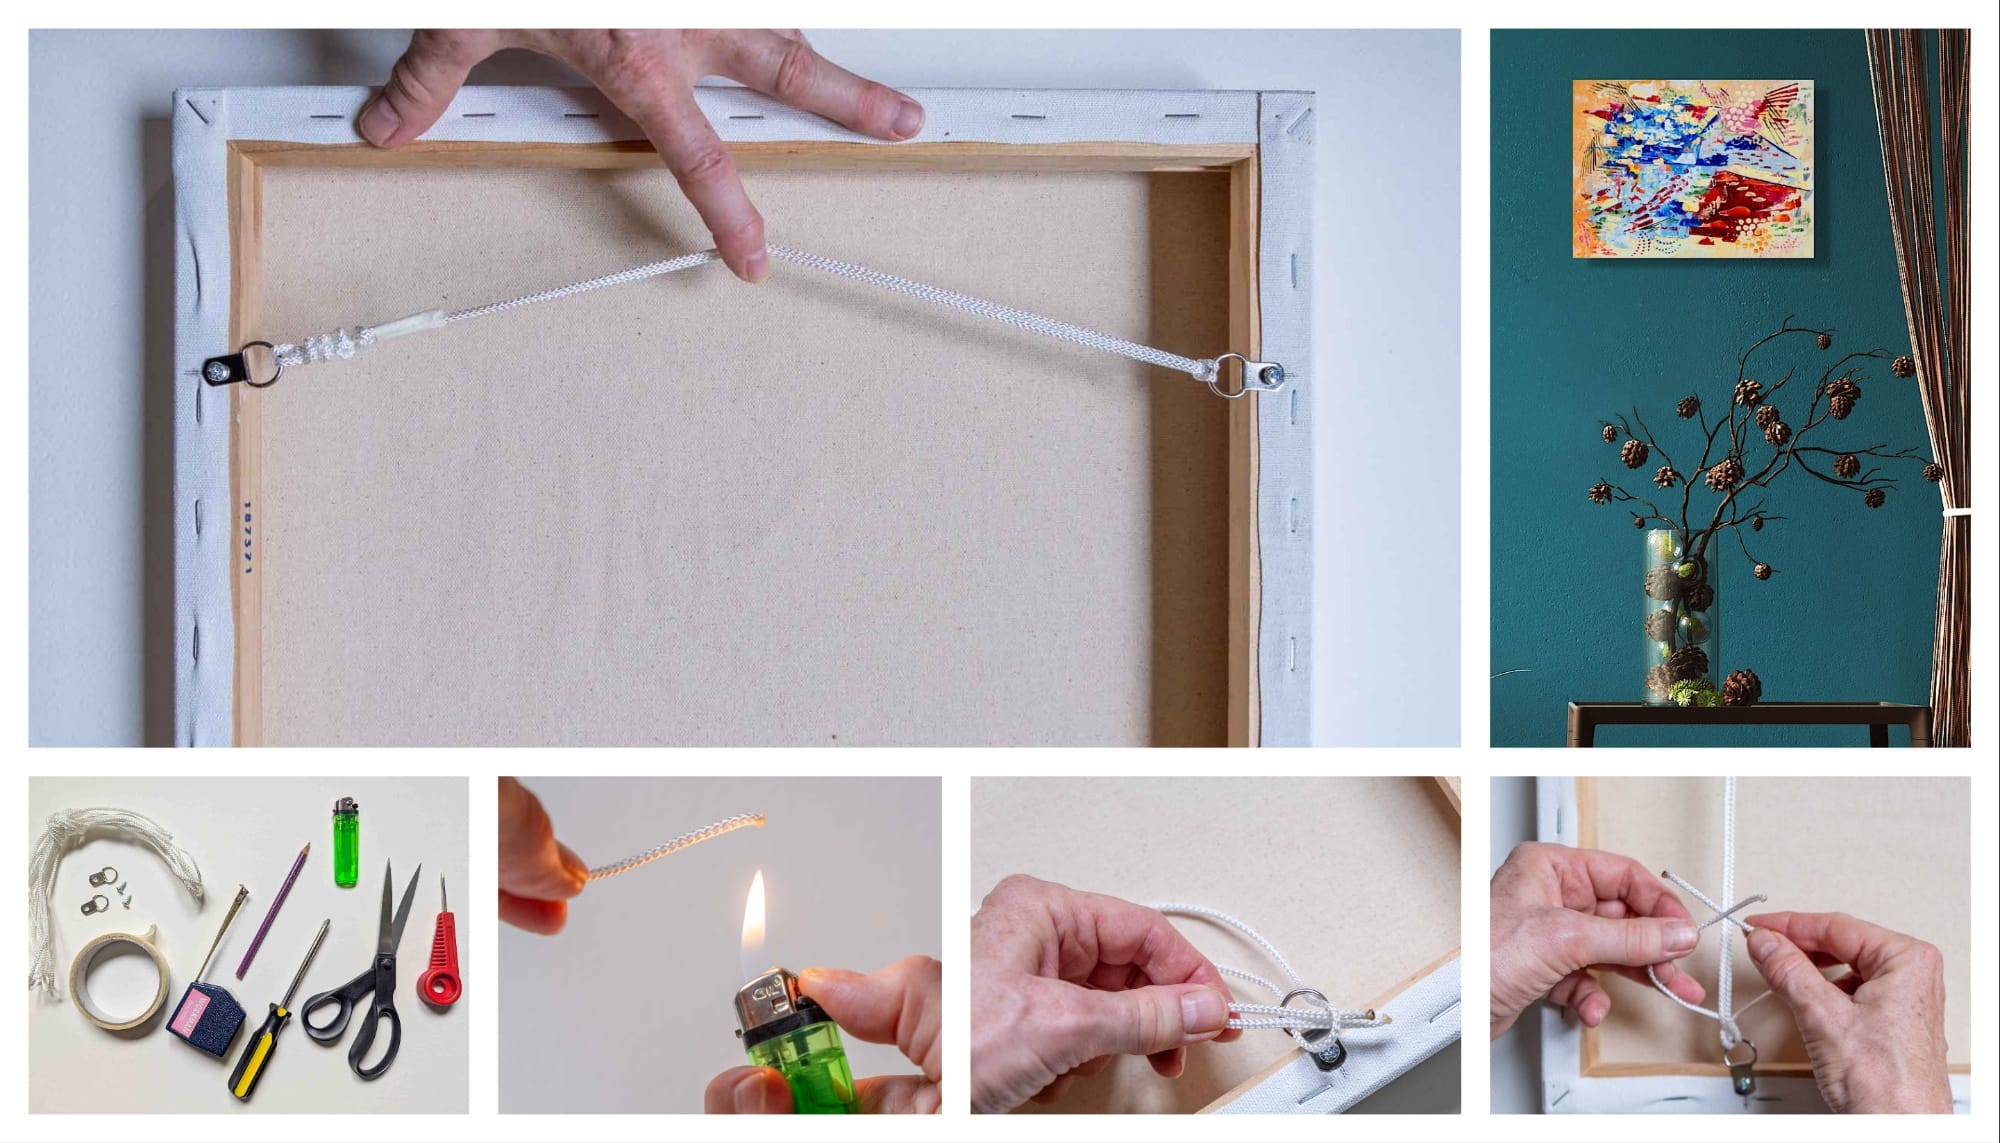
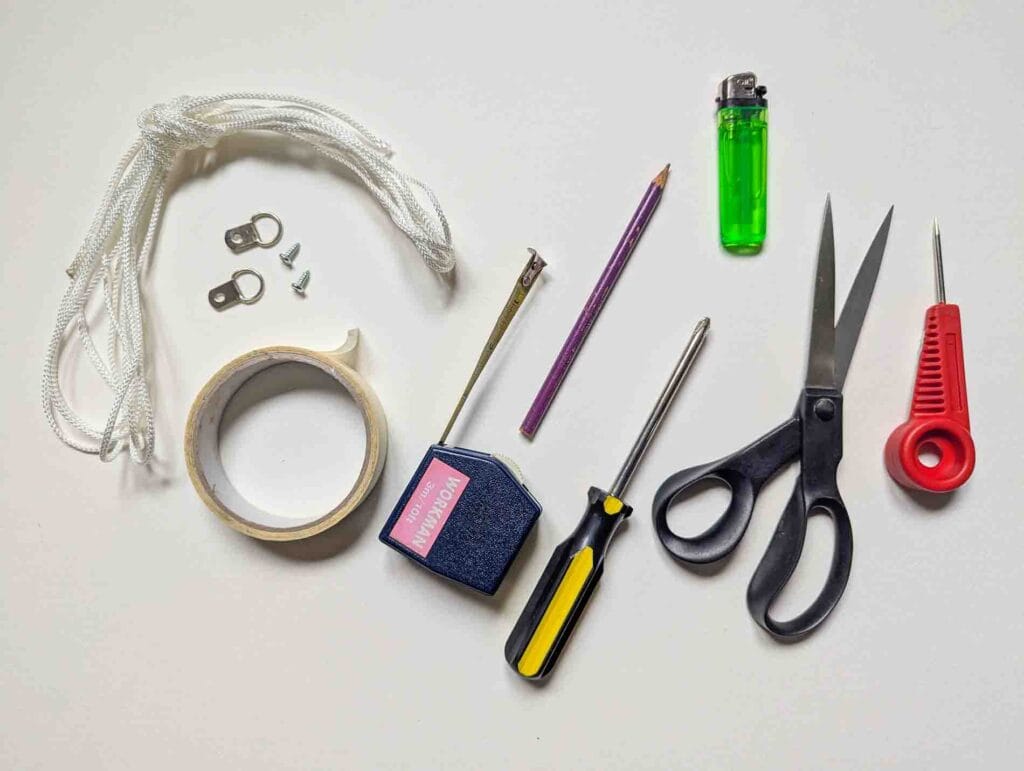
Materials And Tools
- Picture hanging cord
- D-rings
- Screws
- Masking tape
- Measuring tape
- Pencil
- Screwdriver
- Cigarette lighter or other flame source
- Scissors
- Bradawl
Choosing The Best Cord For Your Painting Or Artwork
Selecting the correct type of cord, and properly attaching it, will help you display your paintings safely and beautifully.
Most general-purpose cords will stretch when put under tension, for hanging paintings or other artworks we need a cord with low-stretch properties.
Picture hanging cord is designed specifically for this purpose.
The UK Picture Framing Supplies is my favourite supplier for picture hanging materials, (no affiliation). Search the above online shop for ’picture cord’ and you will find low-stretch cords in a variety of thicknesses sold by the meter and in bulk. Picture Hanging Cord No 1. has a diameter of 1.5 mm and will hang paintings up to 22kg. This is suitable for most domestic and office art installations.
Picture hanging cord can also be purchased from good art shops and from Amazon. Make sure to check how much weight it can support, as they do vary between suppliers.
Do not use string! It will stretch over time, can be difficult to untie and is less durable than picture hanging cord.

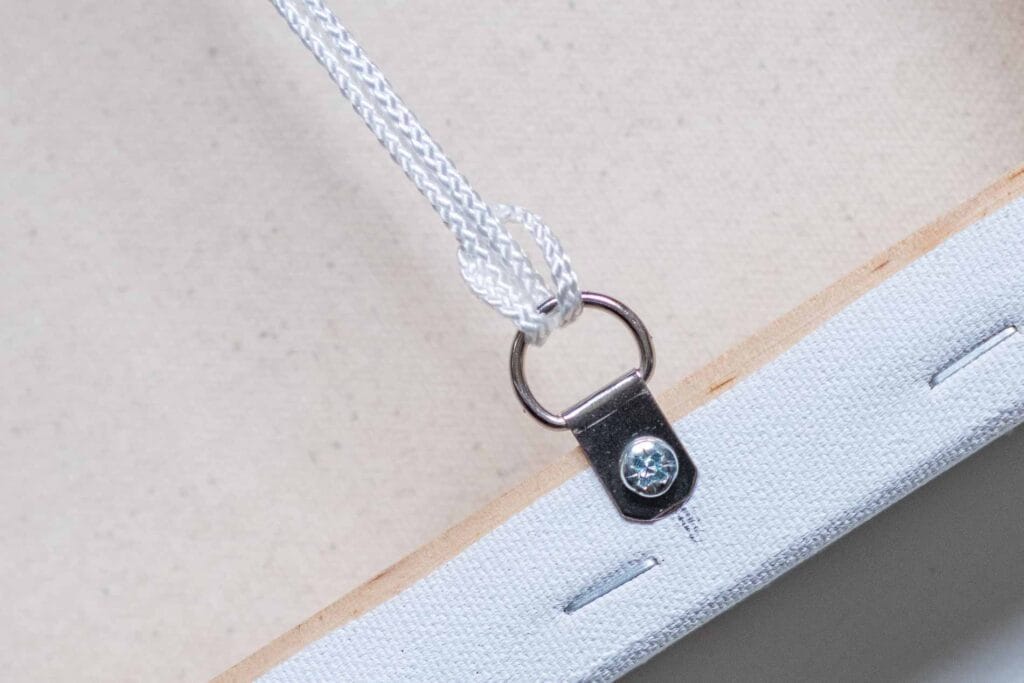
D-rings screw into the back of the frame, one either side, and the cord is tied between them. When choosing D-rings for picture hanging, there are several options to consider based on the size, weight, and style of your artwork. Each type of D-ring offers different levels of strength and functionality, so it’s important to select the one that best suits your needs. Here are the key options available:
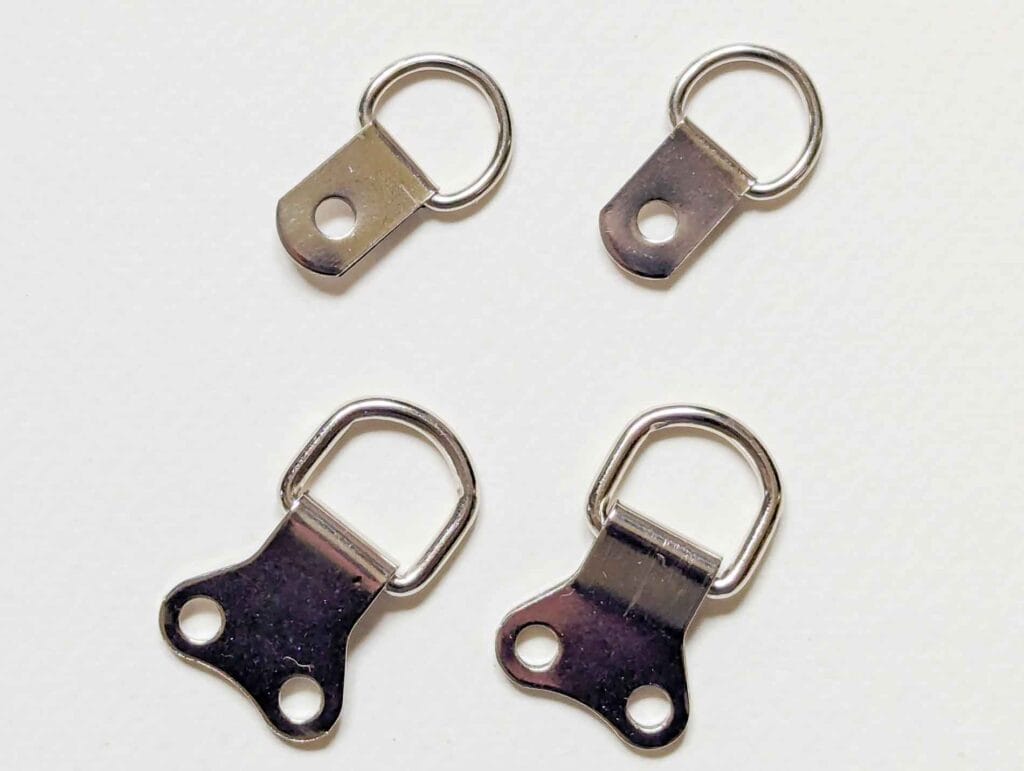
- Single-Hole D-Rings: These are the most basic and commonly used D-rings, suitable for lighter pieces of artwork. They feature one hole for a screw and are attached to the back of the frame. Single-hole D-rings offer a simple, secure way to hang your artwork using picture cord.
- Double-Hole D-Rings: For larger or heavier paintings, double-hole D-rings provide added strength and stability. With two screws securing the ring to the frame, they distribute the weight more evenly and reduce the risk of the D-ring pulling out of the frame. These are ideal for medium to large artworks.
- Heavy-Duty D-Rings: Specifically designed for very large or heavy artwork, they are made from thicker metal and can handle substantial weight. These are often used without picture cord and instead hung directly on wall-mounted hooks, providing maximum support for extremely heavy pieces.
- Angled D-Rings: Some D-rings are designed to allow the cord to sit at an angle when attached to the frame, providing correct alignment of the cord. This can be particularly useful when hanging wide frames as it reduces strain on the cord and ensures a more stable hanging position.
- Finishes And Colours: D-rings are available in different finishes and colours, with nickel and zinc being common choices, but they can also be purchased with bronze or brass finishes.
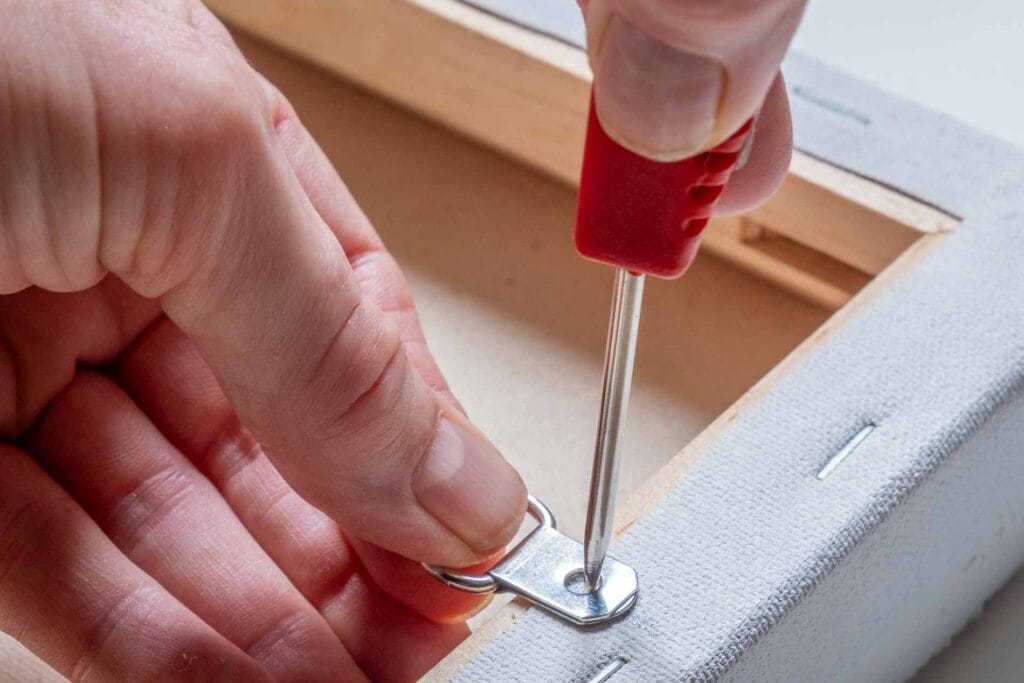
Positioning And Attaching The D-Rings
The D-rings should be attached one-third of the way down from the top corners of the frame. Use a measuring tape to mark precise spots on both sides, ensuring they are equal distance from the top of the frame.


How to Tie A Picture Frame Cord for Perfect Results Every Time
Cut a length of picture cord that is twice the width of the painting to be hung and add approx four inches. Allow a little extra for larger paintings. This extra length provides plenty of cord to tie the knot and is useful if you wish to retie the painting in the future, as there will be plenty of spare cord to work with.
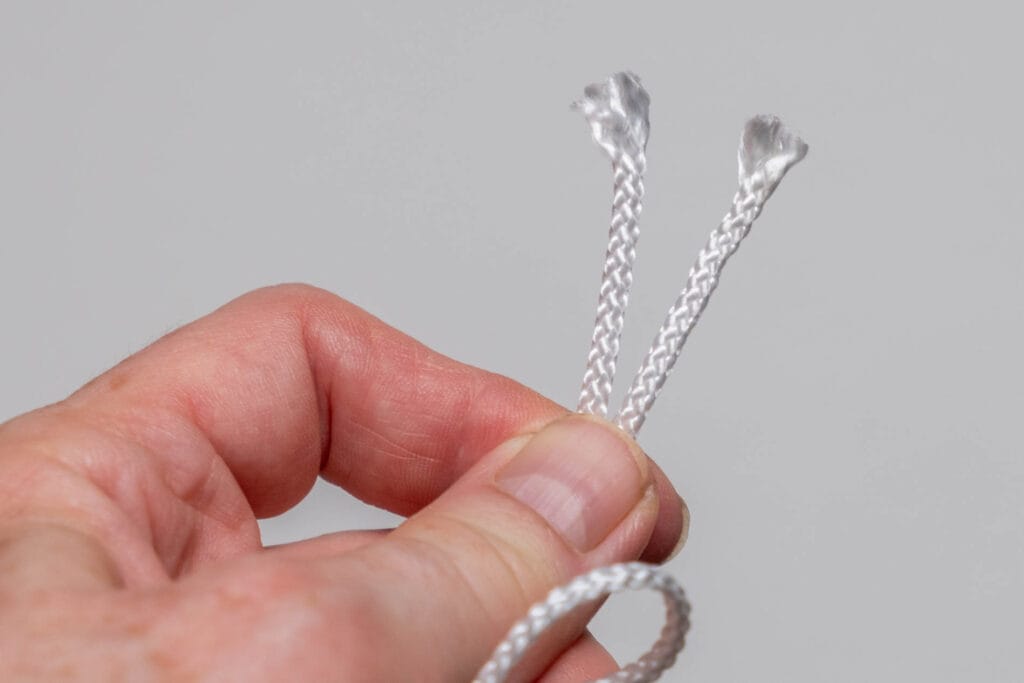
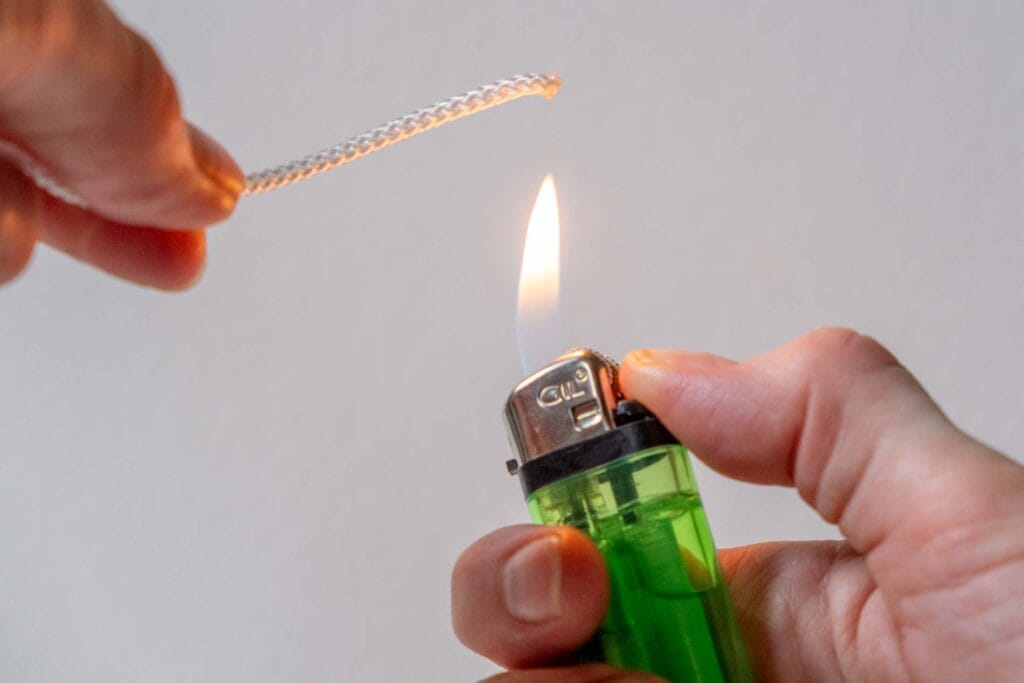
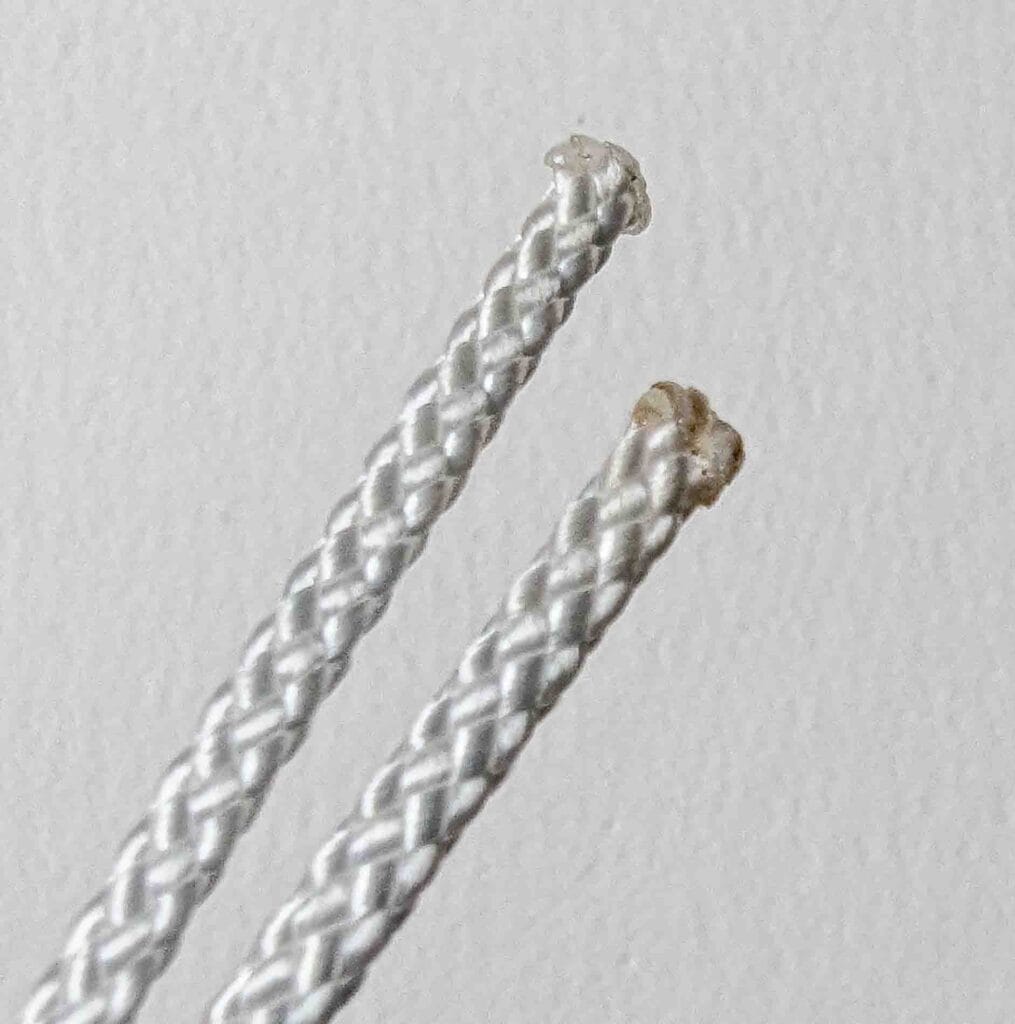
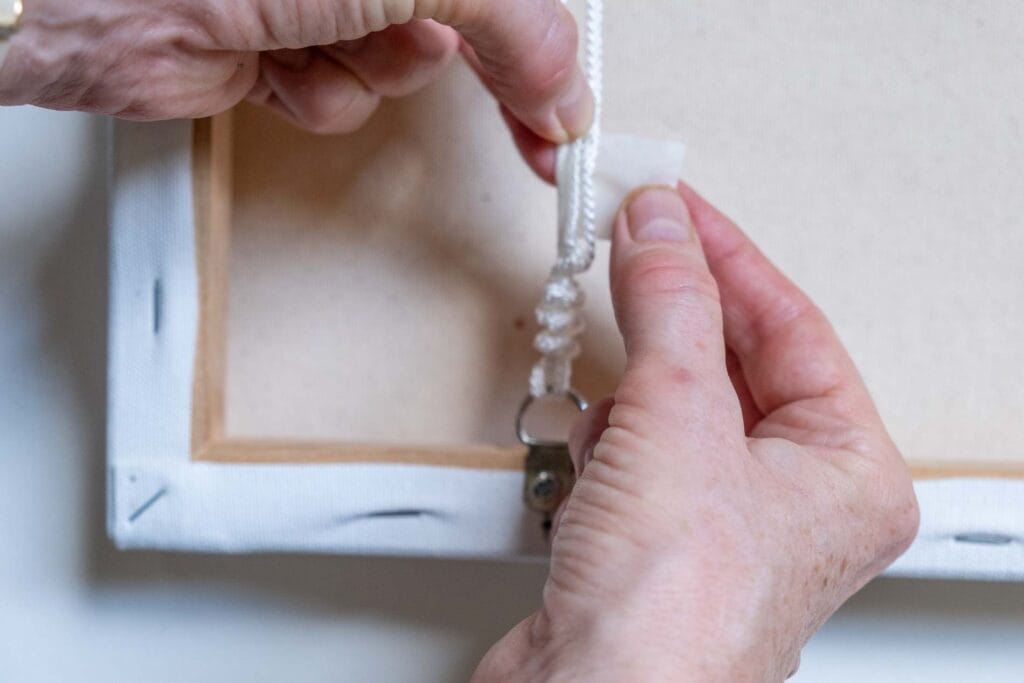
Use a cigarette lighter to slightly melt each end of the cord. This will prevent the cord from fraying.
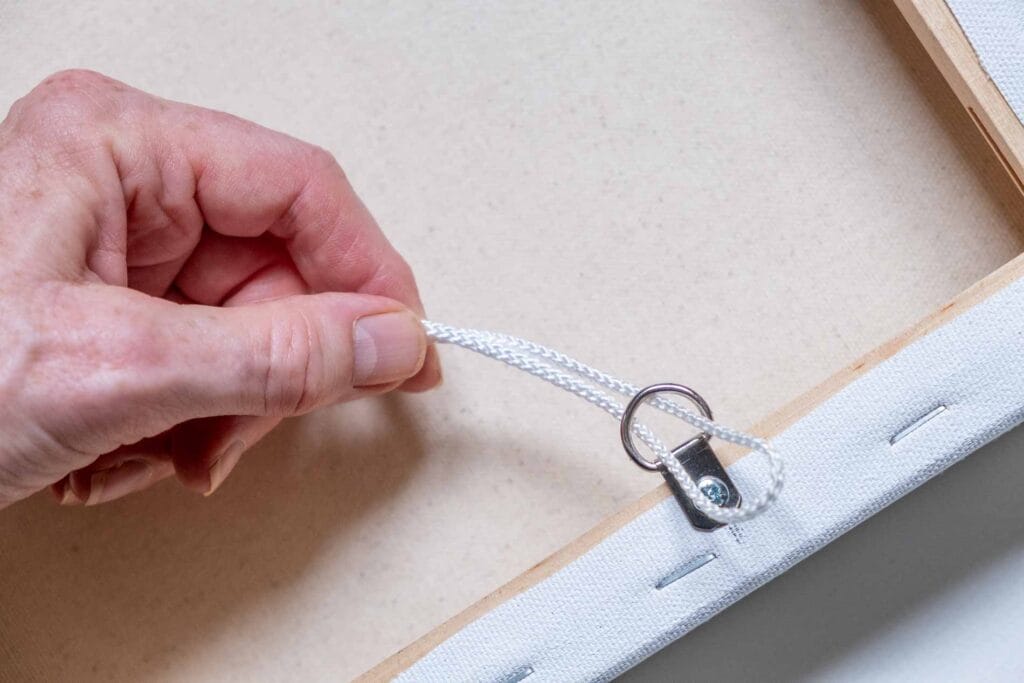
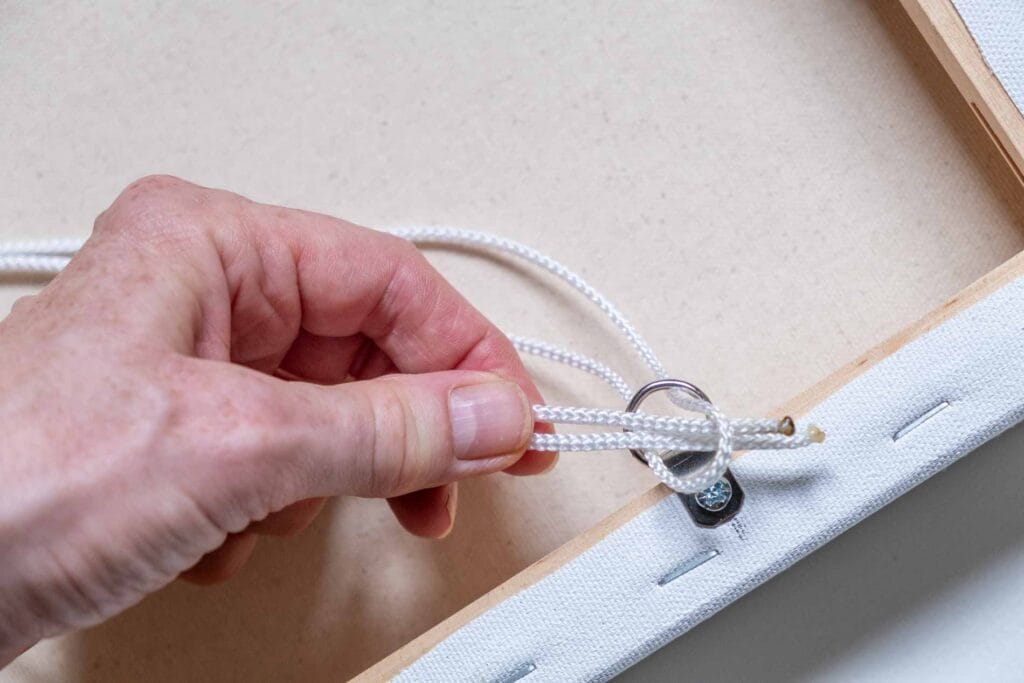
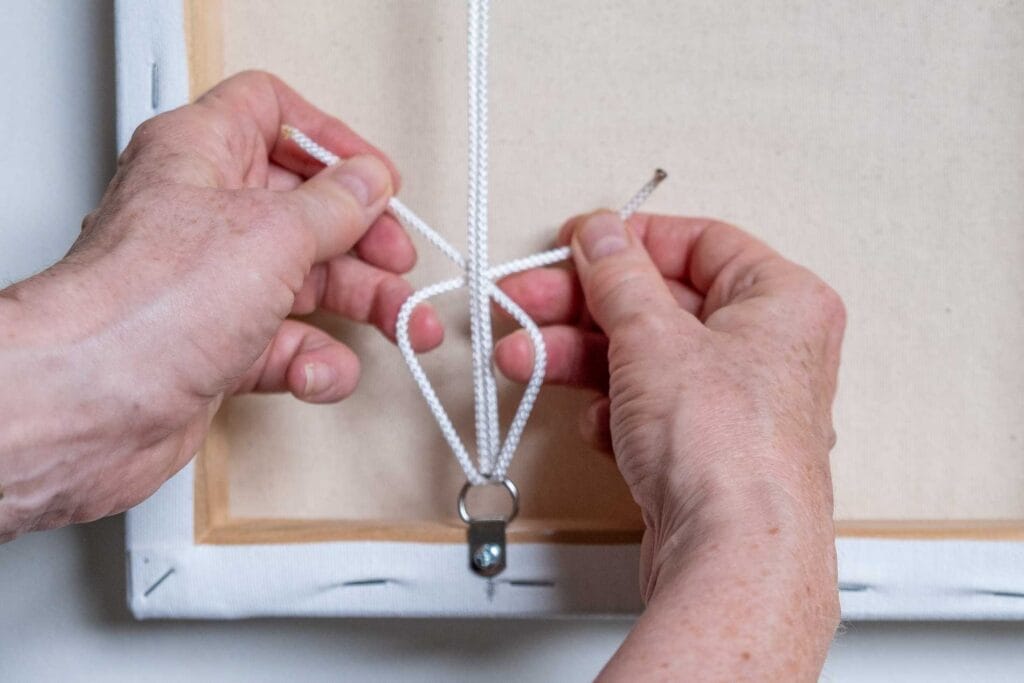
Fold the cord in half again and thread the loop through one of the D-rings.
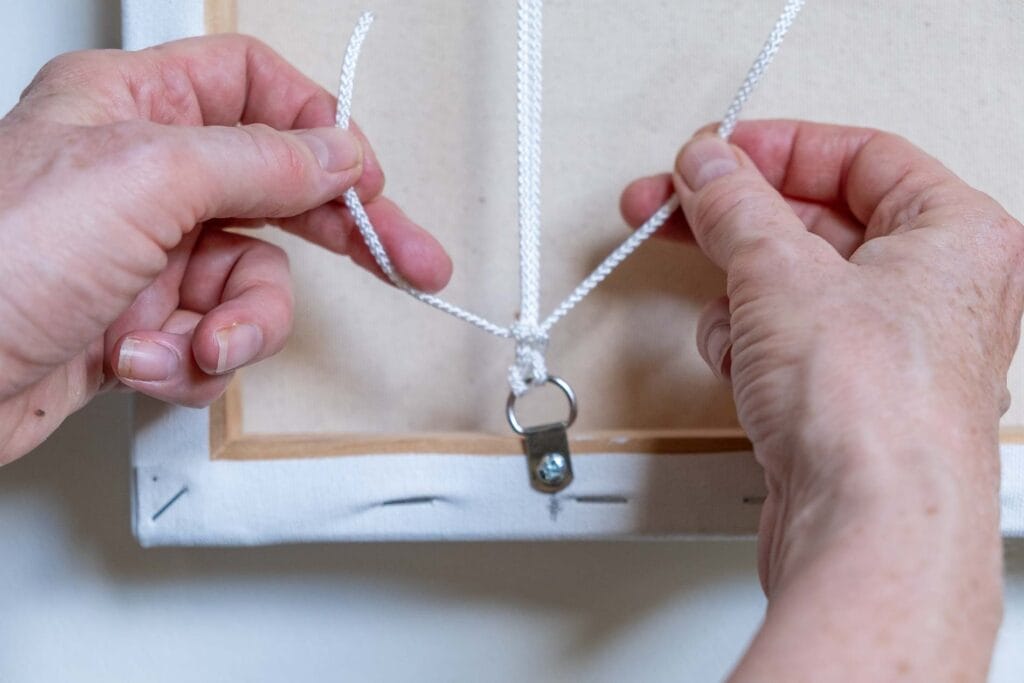
Thread both ends of the cord through the loop you have just created and gently pull the cord tight, ensuring that both lengths are the same.

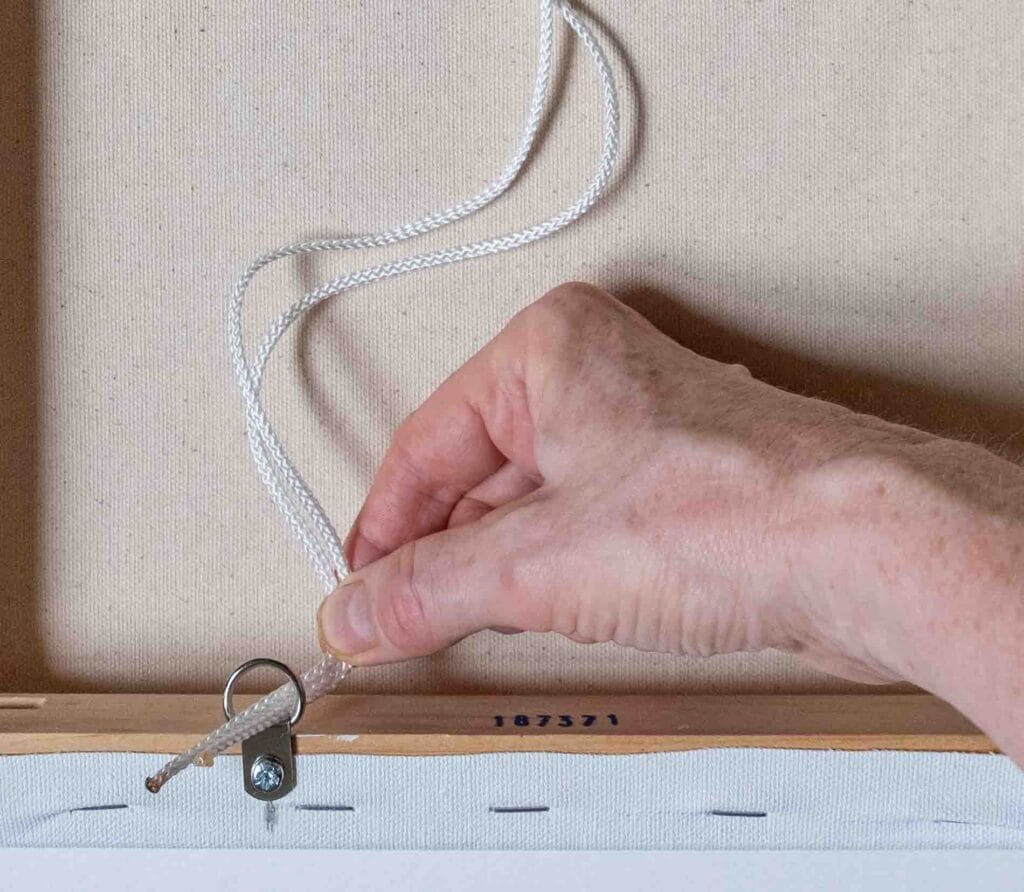
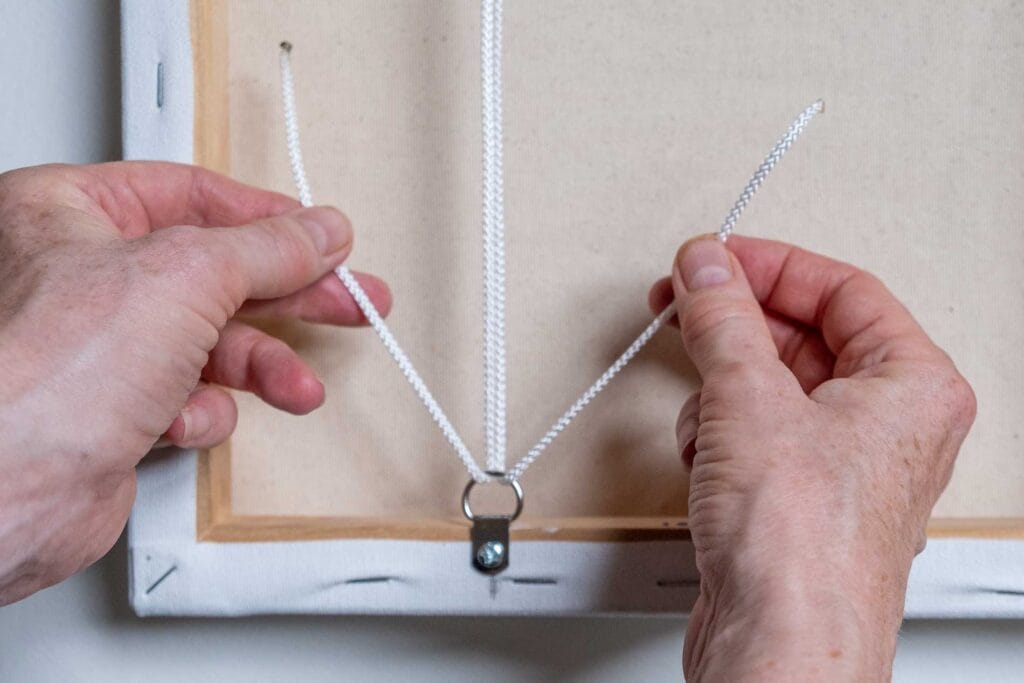


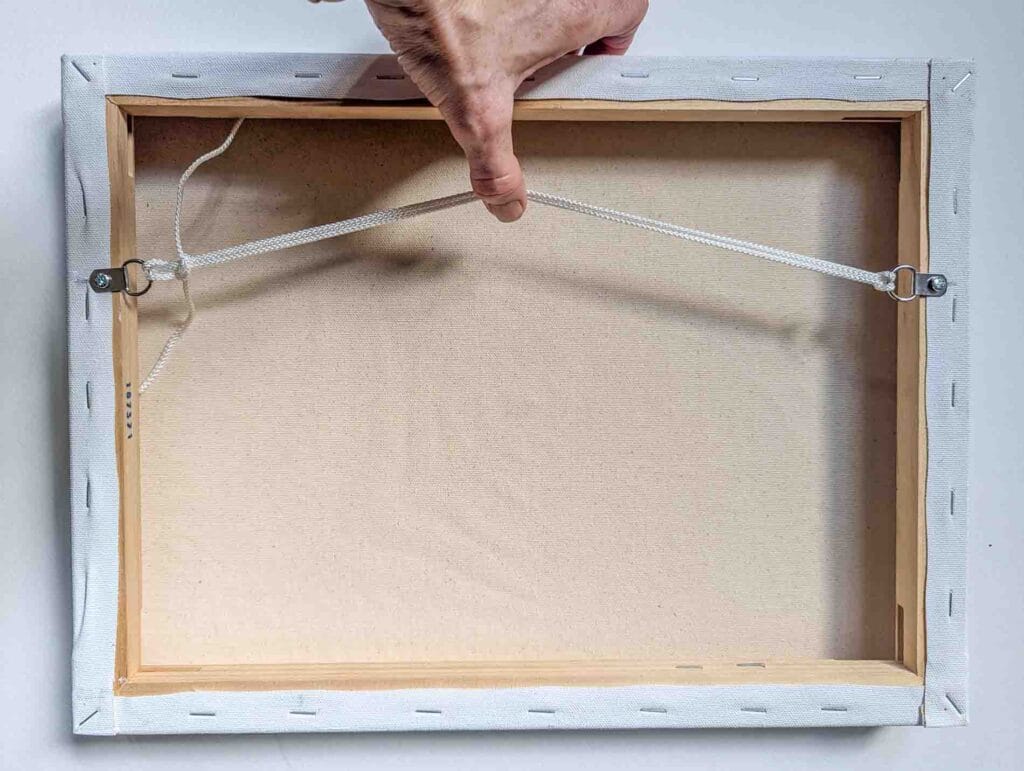
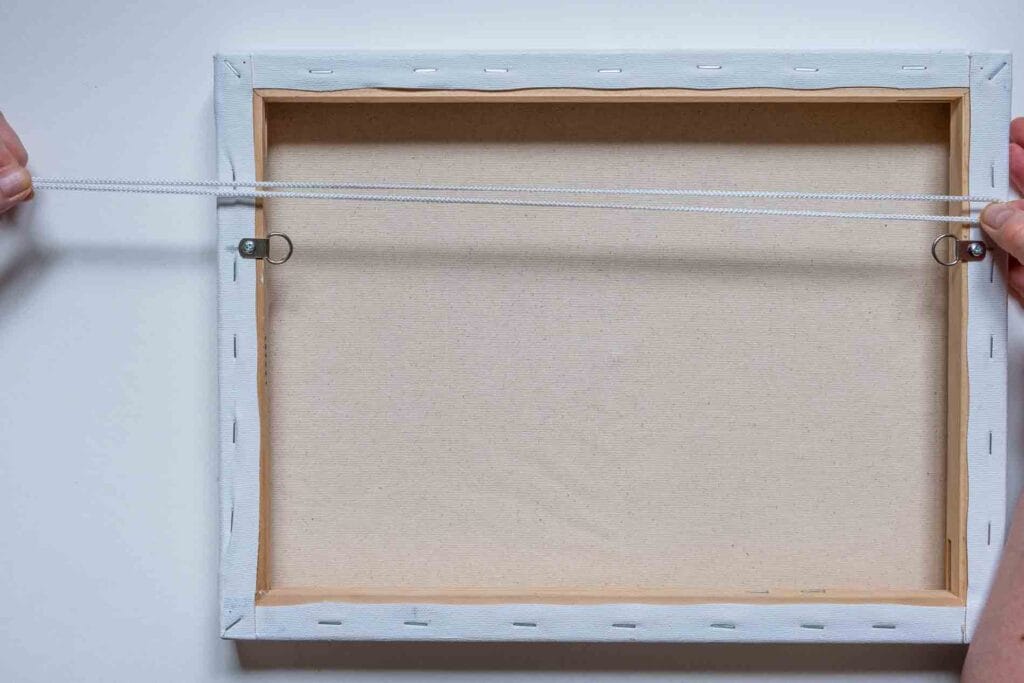
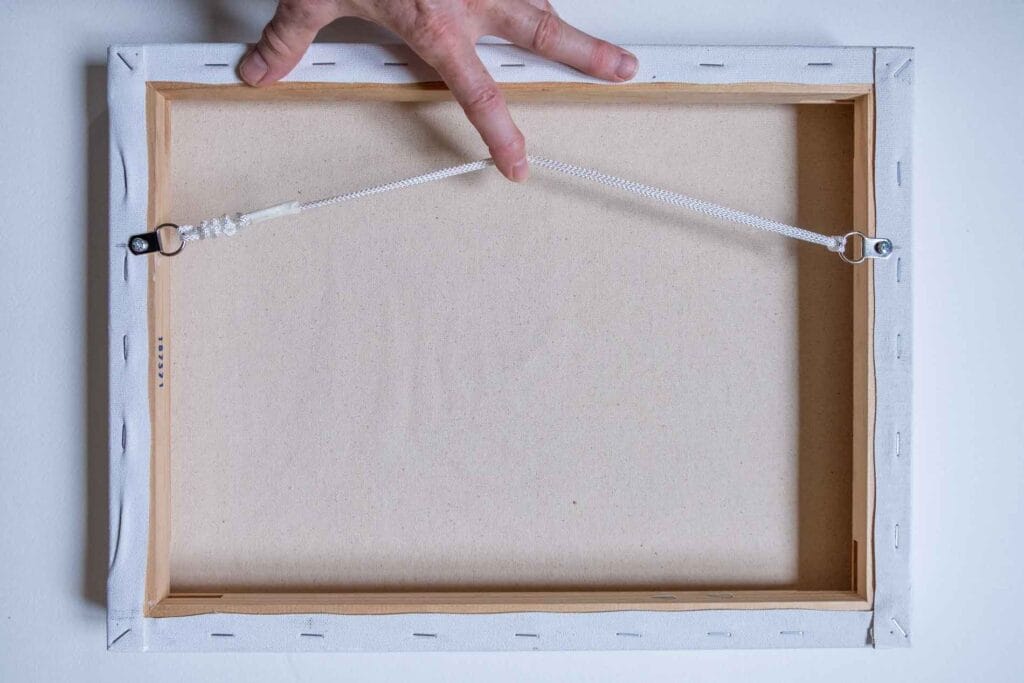
NOTE: To adjust the length of the cord, gently lift the center of the cord toward the top of the frame, as seen above. If the cord touches the top of the frame, it’s too loose, and the painting won’t lie flat against the wall. If the cord is pulled tightly across the back of the painting, with no slack, this could cause some paintings or frames to warp.

To Finish
Rotate the D-rings to point in the same direction as the cord, this will reduce strain on the picture frame. Tighten the screws.
The Painting Is Now Ready To Hang
With the cord properly attached, your painting will be ready to hang with confidence, ensuring it stays secure and beautifully displayed. This basic technique is key to showcasing your artwork in any space with a polished, professional looking finish.
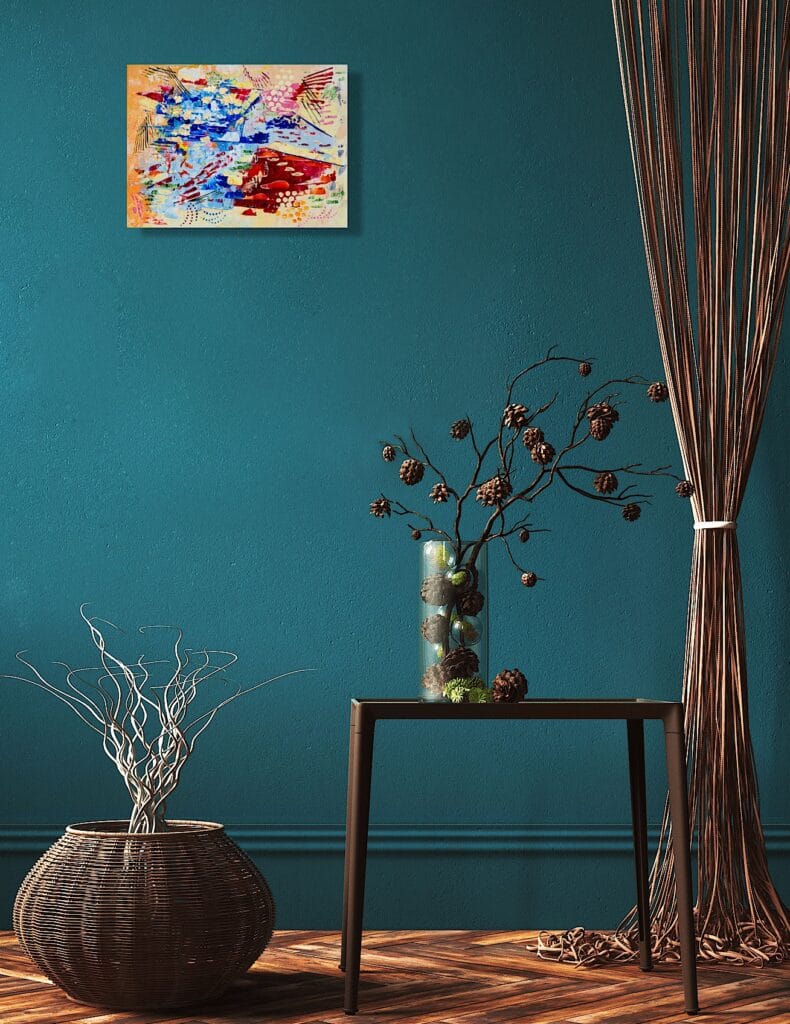
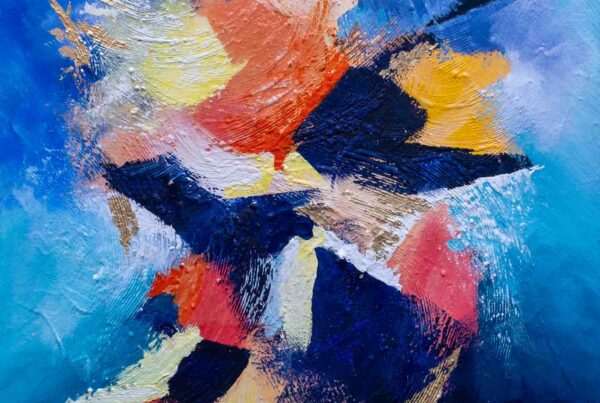
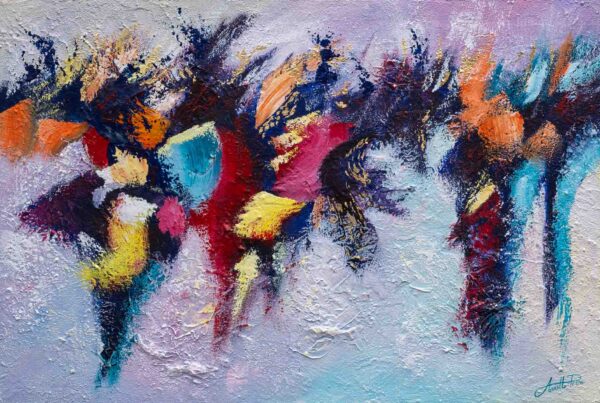
‘Welcome Home’. A mixed-media painting on stretched canvas. 16 x 12 inches